Writely (Part 1) - Into the belly of the beast
Writing with your dominant hand is not easy as it is (I have this story where a friend of mine thought I am writing in Arabic when I had written “organic chemistry”, in english! which is one of many stories around my “gorgeous” hand writing). But can we learn to write with our non-dominant hand. That was the idea we me and team-mates had settled for the project with the haply device. This blog is part of the coursework, and details what I had done along with my friends (Bradley and Bibushan) for the first iteration of the project. I am listing their blog posts as well for reference here:
- Bradley’s CanHaptics Project Iteration 1
- Bibushan’s Writely : Iteration 1
Background
As mentioned above, our main goal was to use the haply as a platform train our non-dominant hand to write. The literature review (which Bibushan and Bradley took the lead on) and advice from our mentors we had settled on 4 different types of haptic feedback:
- Partial feedback: Where the participants would receive a force feedback when they veer off too much from their path.
- Full feedback: Where the user is guided throughout the writing process.
- Anti-guiding: In this method, the system actively forces the user off the path the user is expected to follow.
- Disturbance: Here the user is provided a random nudge now and then.
Basically, the idea we had was to have something similar to the path following we had done for our lab 4. We’d try to get these four approaches working, then try out which one’s are the most feasible; and potentially run a short user study with ourselves. Then again, once we started digging into the details we found that there are a few things that we might have to rethink. Overall, this iteration was about building the foundations and understanding for the next two iterations.
My contribution to the team is twofold: (1) Testing out the pressure sensors with the haply device and try to integrate it with the pen that Bradley had printed (2) Building on Bibushan’s experiments with UI to function with the haply device.
Before I dive into the main parts of this iteration, I wound up moving a script I had written as part of the labs into a proper package for easier dependency management of the different packages. The python package, basically creates link to a bunch of files for each sketch directory we could have in a project. As a habit I avoid having to copy file/code around and write scripts/abstractions to avoid the technical debt copying creates. For instance, in the repo for this project, the package would setup the different dependencies; hAPI, JBox, fisca, and the Pantograph.java in this case.
Moving on to the meat of the iteration…
The pressure sensor
Early on during our discussion, we realized that in order to train someone to write using the haply we’d need to make a few modifications to the haply. First, we needed to have an actuator that would provide a similar form factor to that of a pen. The second was that writing is not a fully continuous task, we tend to take the pen off the paper, even with cursive hand writing. Since the haply doesn’t exactly have the functionality to lift the actuator off the surface, we though we might want to look into the pressure sensor. The amount of pressure applied would be used as indicator if the user intends to be “writing” or “taking the pen off the sheet”. The following that Bradley had recorded demonstrates what this might look like with the pen he had printed out.
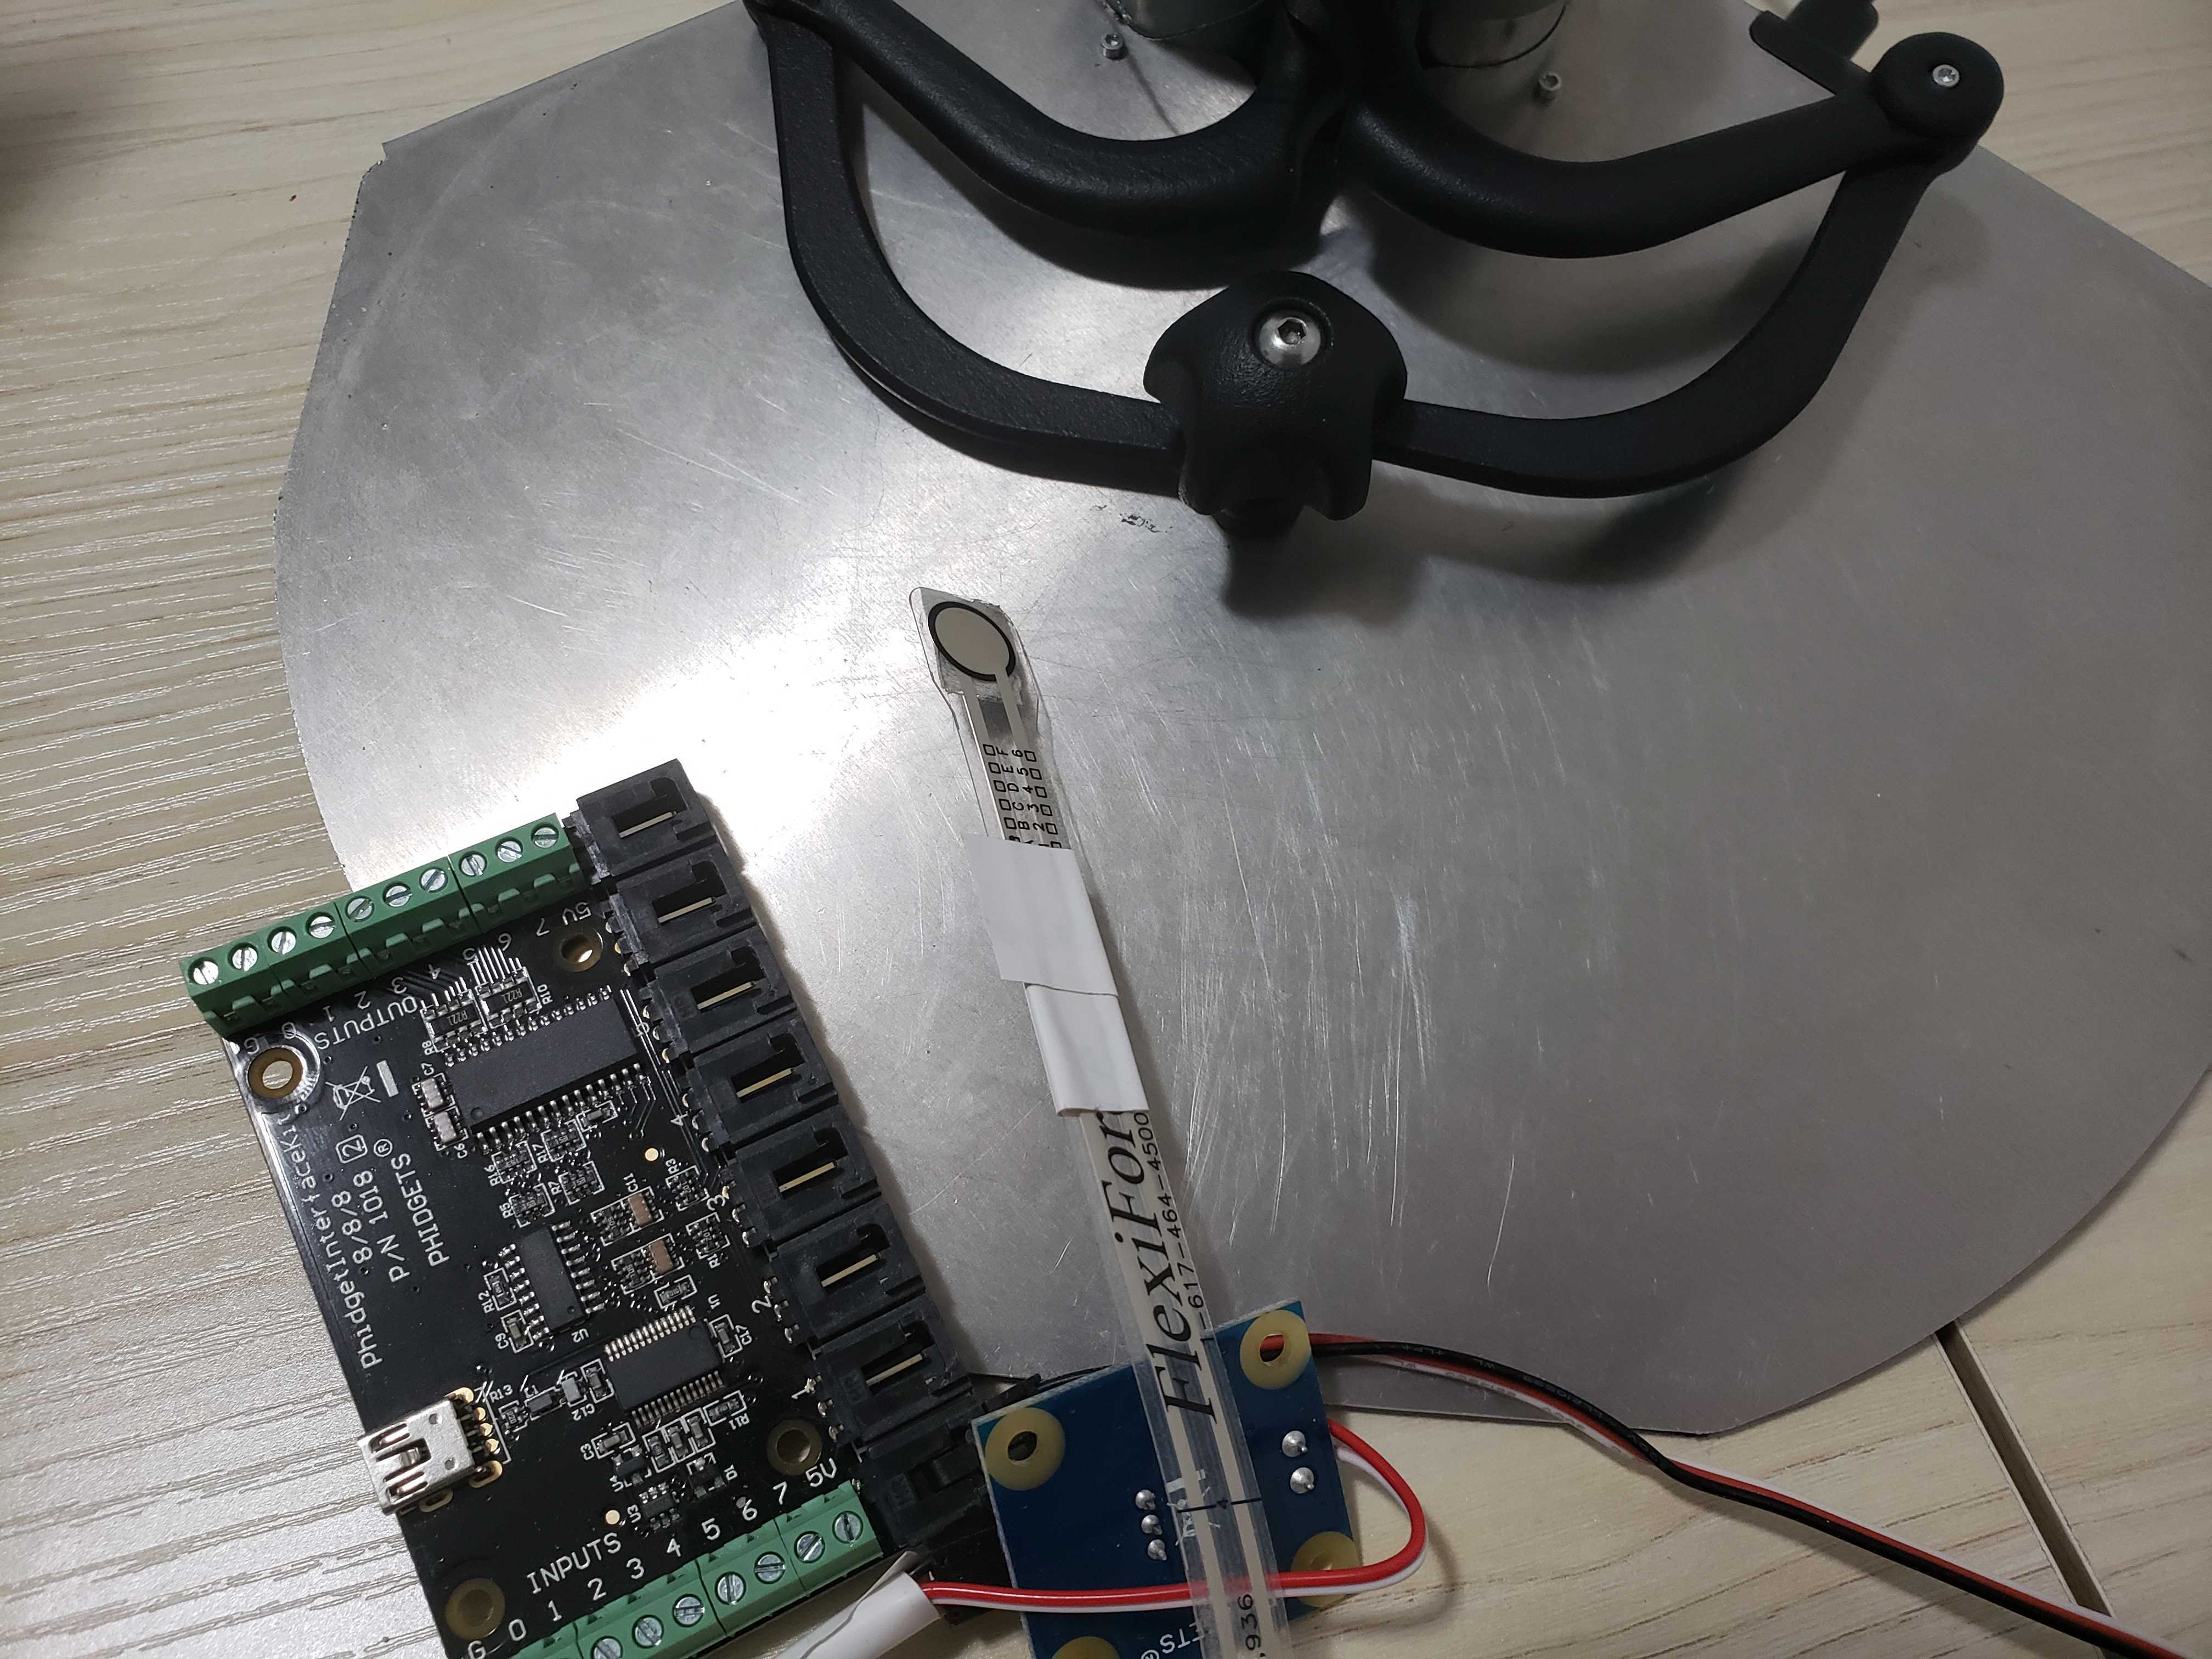
We had a few phidget pressure sensors which were not being used at the moment. So we decided we might want to start by playing with that instead of trying to get a sensor that works with arduino. Initially we thought we might need to directly connect it with the haply. Since the haply’s simulations are being driven by the host system, and interfacing the phidget with the pc is a relatively straightforward process, we took that approach. Initially I started by trying to write a middleware to route the sensor information to the haply, turned out that was not necessary. The below image shows the sensor we used (placed next to the haply device for size reference).

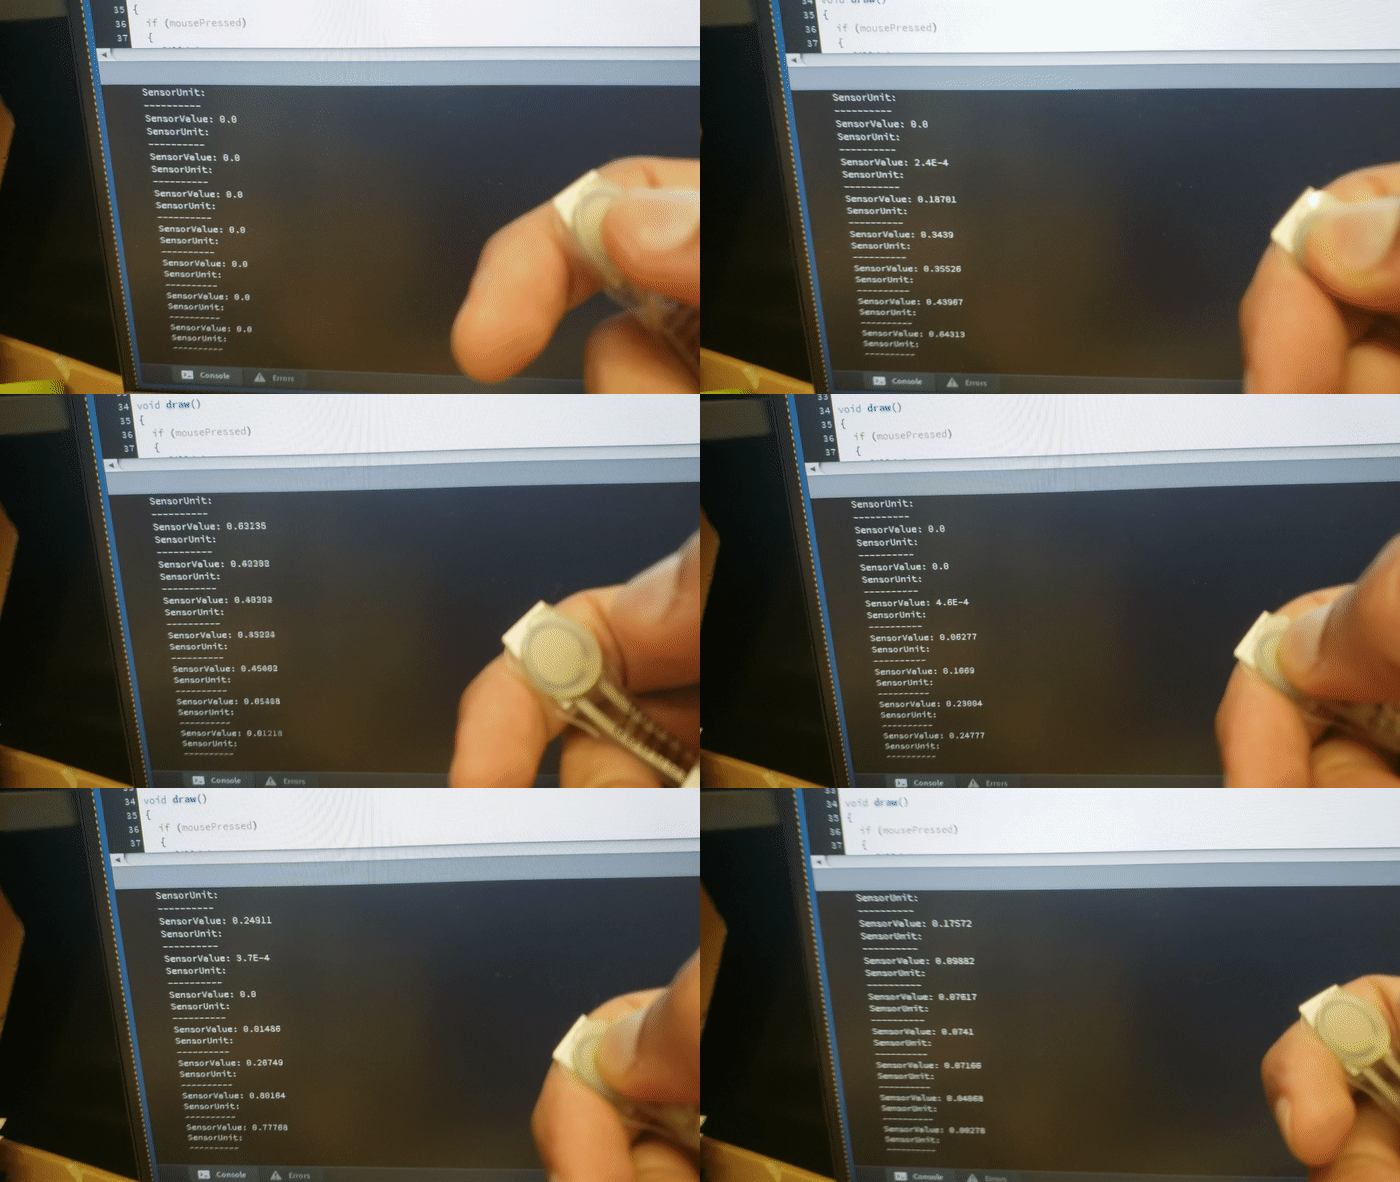
In order to get the sensors working with haply, first the phidget drivers needs to be installed (which took a bit of time to properly get to work because of a few issues with my PATH variable). Then, download the phidget java SDK, which comes packages as a .jar file, and drop it into the code directory of the sketch (in my case I drop it into the code directory of the root of the repo, which gets linked to the sketches through the above mention python tool). To have it working with processing we simply had to import the phidget SDK as we would do with any java library. The sketch titled sketch_pressure_sensor shows how it’s being used in processing. The following clip shows it in action.

For easier testing when sharing the code with others, I also have included a few test that can run. Now that the software side of the sensor has been solved, we are still working on figuring out how integrate it with the haply device. As it can be seen from the above images, integrating the sensor with the haply’s end actuator without it interfering with the haply itself is something we hope to solve in our next iteration, along with figuring out if it would assist us in the system we are building. Another concern we have is that the sensors might get damaged, specially when haply decides to throw a tantrum. One idea we are playing with is to modify the pen actuator to have the sensor be a part of that.
The UI - v1
Bibushan had made a few early drafts of how the UI might look and done a few experiments with processing. He had implemented the components to test drawing in processing using the mouse and measuring the speed in terms of pixels moved. Bibushan and Bradley also had a sketch of what the UI would look like. They draft that we had was this (Linked from Bradley’s blog):

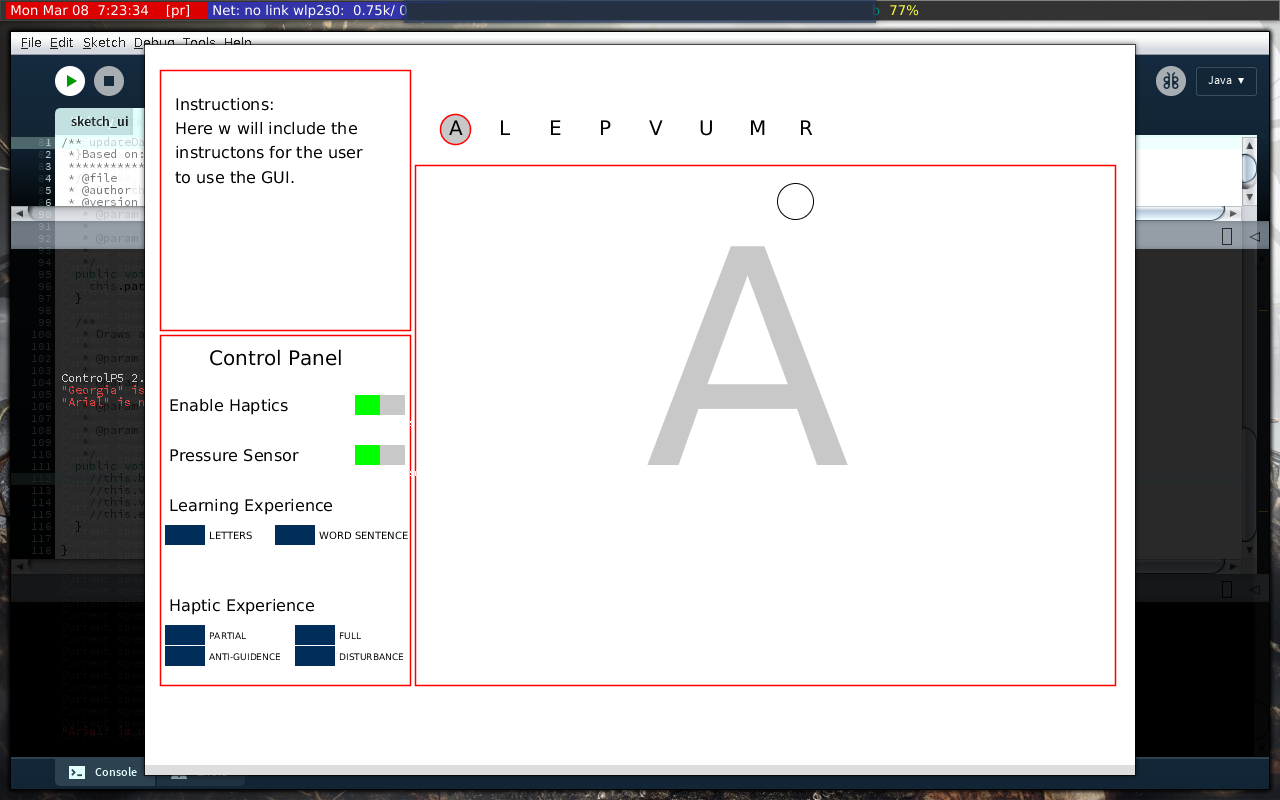
Since we would possibly need the PID framework we had used in lab 4 for the hapic feedback, I used the sketch used for that lab as the skeleton to implement the UI. I stripped the UI components from the labs sketch and drew the elements we needed for the project. The final UI look as follows.

With the skeleton of the UI in place, I started integrating the experiments Bibushan had done. Before we started integrating the pressure sensor, I wanted to make sure the drawing component works as expected. For that I had the space key simulate the pressure sensor, i.e. pressed down representing the case when the user has the pen on sheet, and key up representing the pen being moved off the sheet when writing. Building off of Bibushan’s implementation, I used a separate list to keep track of all the points where the user would have been writing on the surface. Placeholder points were added to the list to represent when the user would have taken the pen off the paper. When the user has satisfactorily completed the letter being displayed, they can move to the next letter by pressing the n key. Measuring the writing speed, and recording the values are still under development, which would be the next steps to complete. An interesting problem we still are trying to solve is how to measure the users performance; which is also closely tied to how the haptic feedback will be calculated. A bulk of the next iteration would be spent on this problem. The following clip show the current UI working with the haply without any haptic feedback. A question I had while recording this is if the haply device’s “bulkiness” would become a compounding factor in the final results.

Reflections
Overall the entire CanHap course has been an interesting journey for me. With the different elements we had learned throughout the entire course coming in handy for the project. Due to paper deadlines coming up and other commitments, I hadn’t been able to do as much as I wanted to do. We also had to spend some time getting a sense of what has been done and what could be done within the time frae of the course. Still, I believe we have a strong footing and headed in a good direction. With Bibushan finally getting his haply device, we should be able to share ideas much more easily.
The most intriguing part for me during this iteration is the “anti-guiding” concept which our mentors had initially brought up. Also, the literature on motor skills training was a completely new area of study for me.
Regarding the implementation component, well, hacking different things is always fun. I got to sink my teeth further into the processing ecosystem. And figuring out how to get the phidget sensor play nice with the haply was alot of fun. Also, as I had mentioned earlier we have a few questions we have to find answers for during the next iteration.